Summary
This recipe is suitable for people who want a simple, make-ahead snack option using common pantry ingredients at home.
Suitable For
- People who prefer quick, no-bake snack preparation at home.
- Home cooks who want a snack that can be prepared in one bowl and stored for several days.
- Individuals looking for a portioned snack that can be packed into containers for later consumption.
Not Suitable For
- People who need to avoid any of the listed ingredients such as oats, nuts, seeds, or honey for personal reasons.
- Individuals who require tailored dietary advice from a healthcare professional or dietitian.
- Situations where precise nutrient content or medical nutrition guidance is required.
Main Content
Ingredients (Base Version)
- Rolled oats: 1 cup (about 90 g), not instant oats
- Peanut butter (or other smooth nut or seed butter): 1/2 cup (about 120 g)
- Protein powder (unflavoured or vanilla): 1/3 cup (about 30 g)
- Honey or maple syrup: 3 tablespoons (about 60 ml)
- Chia seeds or ground flaxseeds (optional): 2 tablespoons
- Dark chocolate chips or finely chopped dark chocolate (optional): 2–3 tablespoons
- Water or milk of choice: 1–3 tablespoons, added only if needed for texture
Step 1: Prepare Work Area
Place a medium mixing bowl on a clean work surface. Line a plate or small tray with baking paper or a reusable liner to hold the shaped balls. Wash and dry your hands before handling any ingredients.
Step 2: Combine Dry Ingredients
Add rolled oats, protein powder, and chia seeds or ground flaxseeds (if using) to the mixing bowl. Stir with a spoon until the dry ingredients look evenly mixed and there are no visible clumps of powder.
Step 3: Add Wet Ingredients and Mix
Add peanut butter and honey (or maple syrup) to the bowl. Use a sturdy spoon or spatula to press and fold the mixture together until it forms a thick, uniform dough. If the mixture feels very dry and crumbly and does not hold together when pressed, add water or milk 1 teaspoon at a time, mixing after each addition until it just holds together when squeezed in your hand.
Step 4: Adjust Texture and Add Mix-ins
If using chocolate chips or chopped chocolate, add them to the bowl and mix until evenly distributed. Test the texture by taking a small portion and rolling it between your palms; it should form a smooth ball without cracking apart. If it cracks, add a few more drops of liquid and mix again. If it sticks heavily to your hands, sprinkle in a small amount of oats and mix again.
Step 5: Shape the Protein Balls
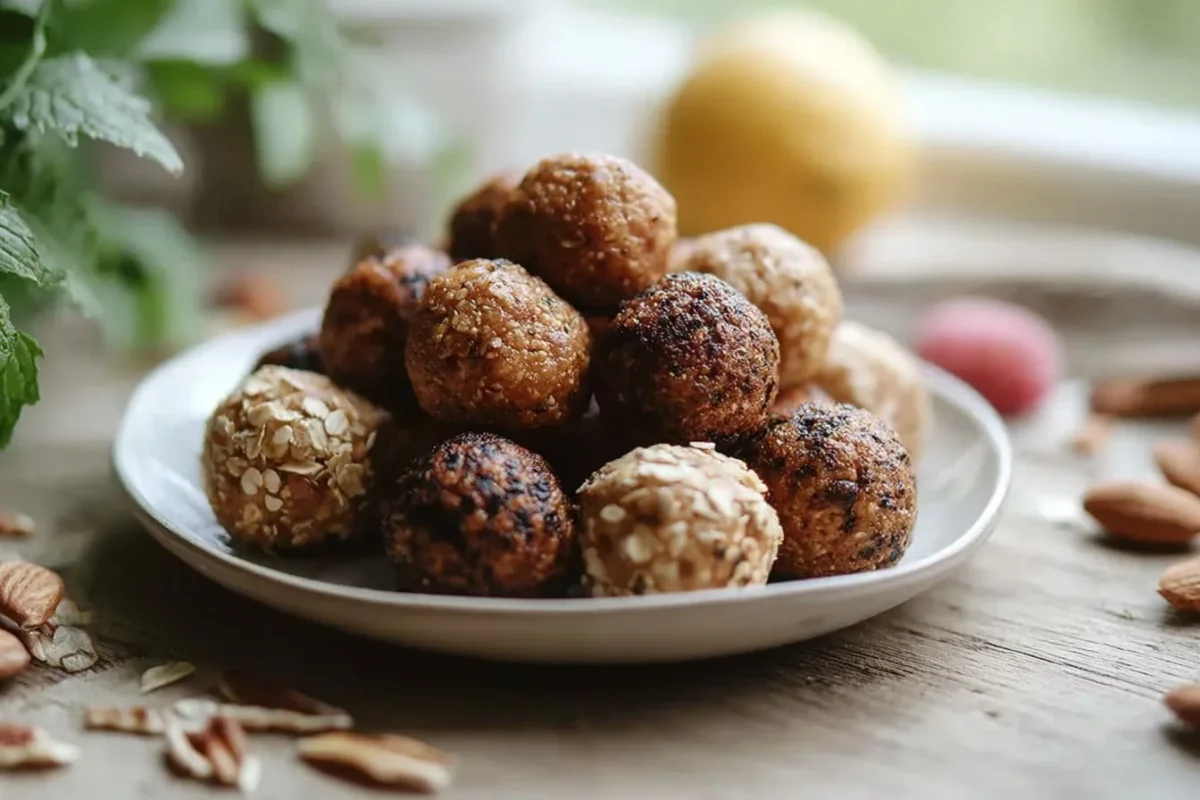
Use a tablespoon or small scoop to portion the mixture into equal amounts. Roll each portion between your palms to form a firm ball about 2.5 cm (1 inch) in diameter. Place each ball on the lined plate or tray, leaving a small space between them so they do not stick together.
Step 6: Chill and Store
Place the tray of shaped protein balls in the refrigerator for at least 30 minutes so they firm up. After chilling, transfer the balls to an airtight container. Store in the refrigerator and consume within 3–5 days, using clean, dry utensils or hands each time you remove portions from the container.
FAQ
1. Is this recipe suitable for people who avoid nuts?
This recipe uses peanut butter as listed. People who avoid nuts can consider using a seed-based spread, such as tahini or sunflower seed butter, in the same amount, if those ingredients are acceptable for them.
2. Can I make this recipe without protein powder?
Yes. If you omit the protein powder, you can replace it with additional rolled oats in a similar volume. In that case, you may need slightly more honey or liquid to reach a rollable texture.
3. Can I adjust the sweetness level?
You can reduce or increase the honey or maple syrup to taste. If you reduce the liquid sweetener, you may need to add a small amount of water or milk so the mixture still holds together when rolled.
4. Is this suitable for children?
This is a general home-style snack recipe and is not tailored to any specific age group. Caregivers can review the ingredient list and texture and decide whether it fits the needs and preferences of the child they care for.
5. Can I freeze these protein balls?
Yes. Place the formed balls on a tray to freeze until firm, then transfer to a freezer-safe container or bag. Label with the date. When ready to eat, move the desired number of balls to the refrigerator and allow them to soften before serving.