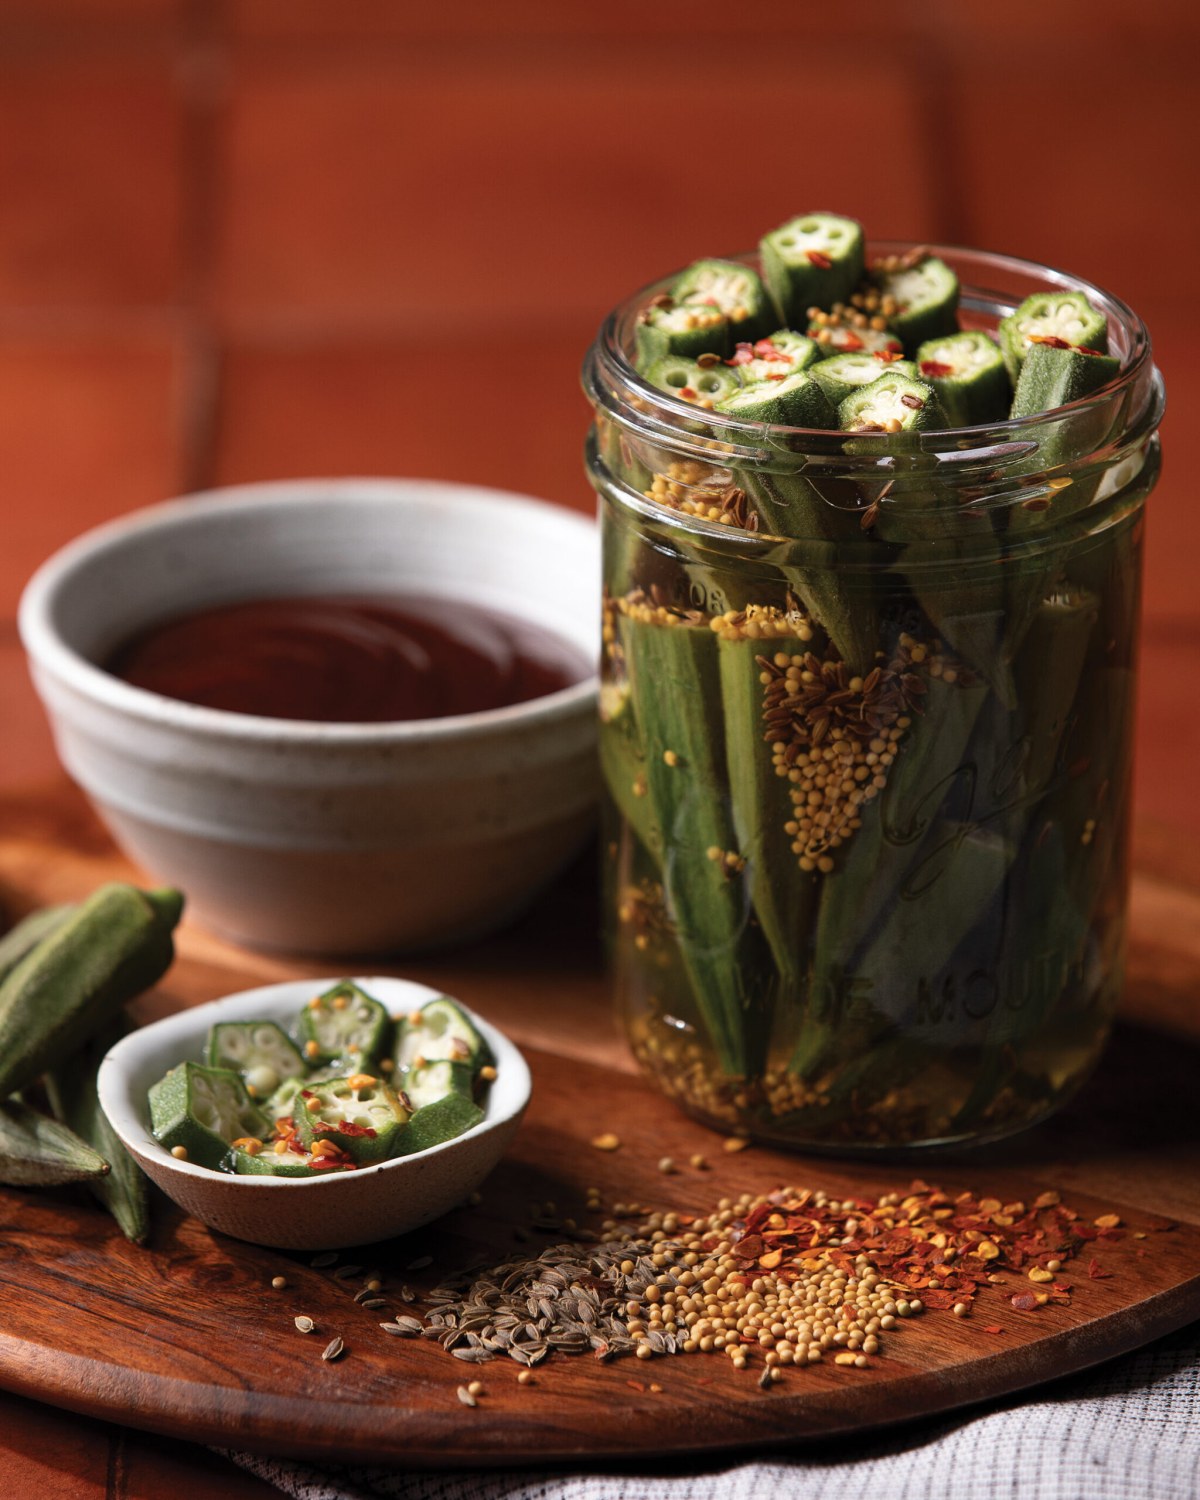
Summary
This recipe is for people who want a clear, step-by-step method to make basic pickled okra at home for everyday meals.
Suitable For
- Home cooks looking for a simple way to preserve fresh okra using common kitchen equipment.
- People who enjoy tangy, vinegar-based pickles as a side dish, snack, or sandwich accompaniment.
- Users who prefer a repeatable recipe with measured quantities and straightforward instructions.
Not Suitable For
- People who wish to avoid vinegar, salt, or sugar in their food preparations.
- Users who do not want to handle hot liquids, glass jars, or basic stove-top cooking steps.
- Anyone seeking personalized dietary guidance, medical advice, or recommendations tailored to specific health conditions.
Main Content
Ingredients (Makes About 2 Pints)
- 450–500 g fresh, small whole okra pods (about 1 lb), rinsed and patted dry
- 240 ml white vinegar (1 cup, 5% acidity)
- 240 ml water (1 cup)
- 2 tbsp pickling or kosher salt (about 30 ml)
- 2 tsp granulated sugar (about 10 ml, optional for mild sweetness)
- 4 cloves garlic, peeled
- 2 tsp mustard seeds
- 2 tsp black peppercorns
- 2 small fresh red or green chili peppers (optional, whole)
- Fresh dill sprigs (about 2–4 small sprigs)
- 2 clean glass jars with lids, about 480 ml (pint) size each
Step 1: Prepare Jars and Okra
- Wash the glass jars, lids, and any rings in hot, soapy water, then rinse thoroughly.
- Place the clean jars upside down on a clean towel to air-dry while you prepare other items.
- Rinse the okra under cool running water and pat completely dry with a clean towel.
- Trim only the stem tips if they are long, keeping the pods whole and uncut to avoid leaking seeds.
Step 2: Pack the Jars
- Place 1 clove of garlic, 1 tsp mustard seeds, 1 tsp black peppercorns, and 1–2 small dill sprigs into the bottom of each jar.
- If using chili peppers, add 1 small whole chili to each jar.
- Stand the okra pods upright in the jars, tips pointing up, packing them snugly but without forcing or breaking them.
- Leave about 1.5–2 cm (approximately 1/2–3/4 inch) of space at the top of each jar.
Step 3: Make the Brine
- In a small saucepan, combine the vinegar, water, salt, and sugar (if using).
- Place the saucepan over medium heat and stir until the salt and sugar are fully dissolved.
- Once the liquid reaches a gentle simmer, turn off the heat. There is no need to boil vigorously.
- Let the brine sit for 1–2 minutes so it is hot but no longer rapidly bubbling.
Step 4: Fill the Jars
- Place the packed jars on a heat-safe surface such as a wooden board or folded kitchen towel.
- Carefully pour the hot brine into each jar, covering the okra completely.
- Leave about 1 cm (approximately 1/2 inch) of space between the liquid level and the top of the jar.
- Use a clean utensil (such as a chopstick or butter knife) to gently release any large air bubbles around the okra.
- Wipe the jar rims with a clean, damp cloth to remove any brine.
- Place the lids on the jars and close until fingertip-tight (snug but not overly forced).
Step 5: Cool, Refrigerate, and Use
- Allow the jars to cool at room temperature until no longer warm to the touch.
- Once cooled, place the jars in the refrigerator.
- For best flavor development, keep the jars refrigerated for at least 48 hours before opening.
- Use clean utensils when removing okra from the jar, and return the jar promptly to the refrigerator after each use.
FAQ
1. Is this pickled okra recipe suitable for everyday home cooking?
Yes, this recipe is intended for general home kitchen use by people who are comfortable with basic stove-top cooking and handling glass jars, without aiming to provide personalized dietary or medical guidance.
2. Can I replace white vinegar with another type of vinegar?
You can generally replace white vinegar with vinegars that have similar acidity, such as apple cider vinegar labeled at 5% acidity, understanding that this will change the flavor and color of the pickled okra.
3. Can I reduce or omit the sugar in the brine?
Yes, you may reduce or omit the sugar if you prefer a less sweet result; the texture and general preparation steps remain the same, but the taste will be more sharply acidic.
4. Is this recipe suitable for long-term room-temperature storage?
This version is written as a refrigerator-style recipe and is not written as a tested method for shelf-stable, room-temperature storage; it is intended to be kept chilled and used as a refrigerated item.
5. Can I add other spices or herbs to the jars?
You may add common whole spices or herbs such as coriander seeds, bay leaves, or additional dill to adjust flavor, as long as the basic vinegar, water, and salt proportions are kept consistent with the described method.