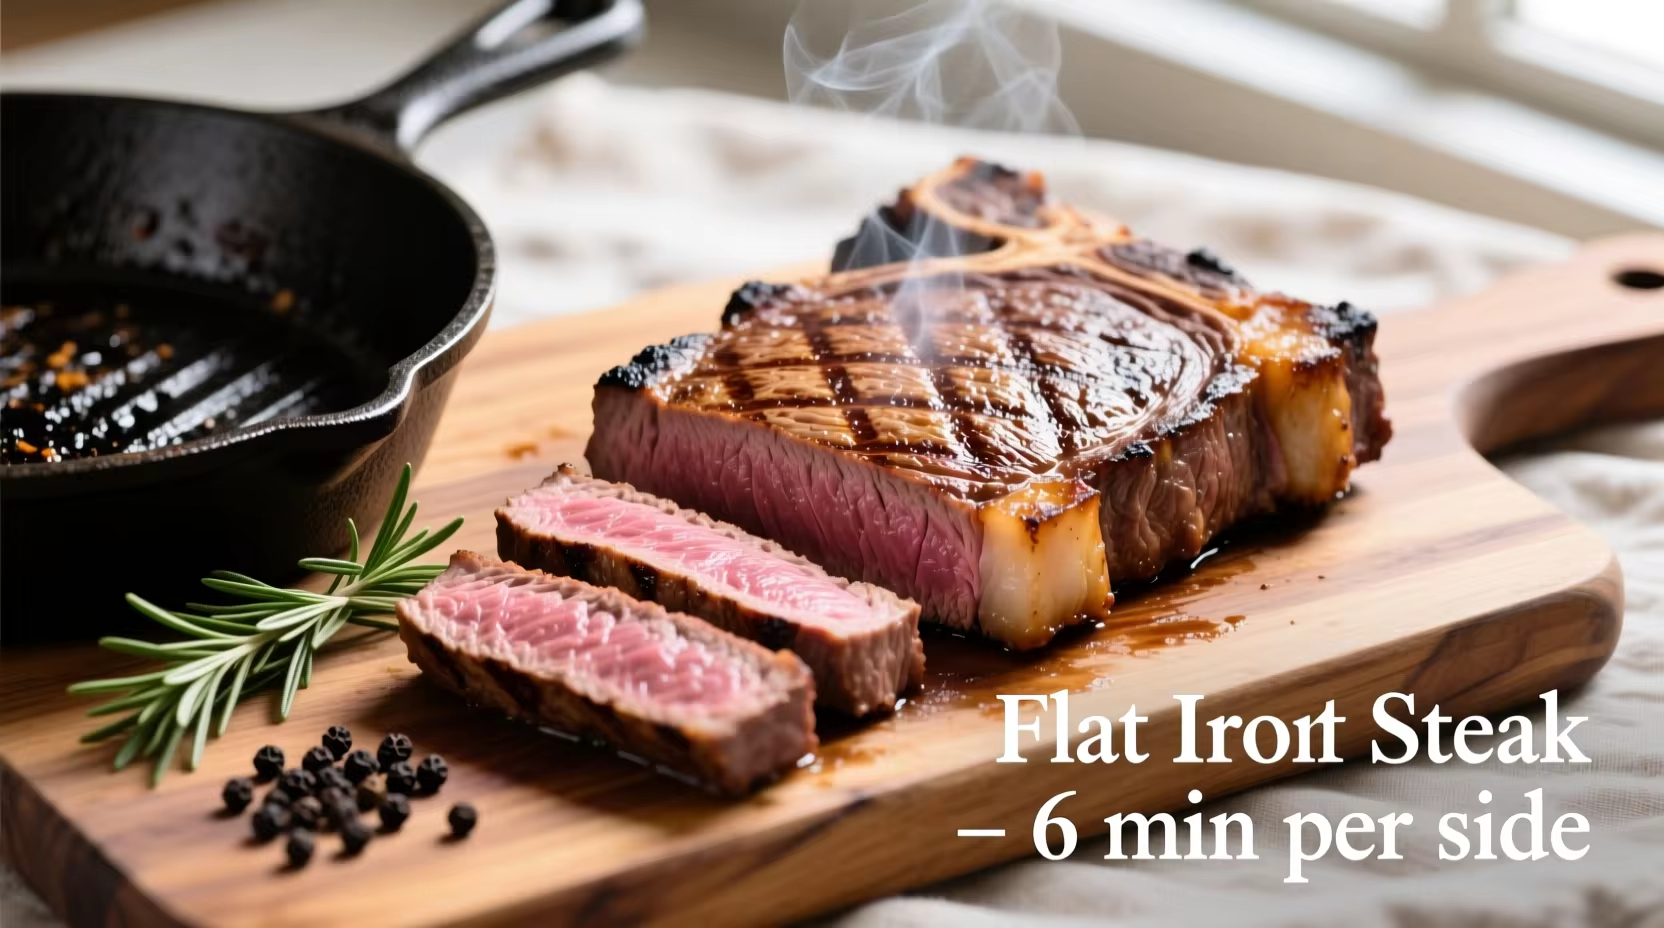
Summary
This flat iron steak recipe is suitable for people who want a clear, step-by-step method to prepare a simple cooked steak at home.
Suitable For
- Home cooks looking for a basic pan-seared flat iron steak method.
- Everyday meals where a single pan and common kitchen tools are preferred.
- People who are comfortable handling and cooking raw beef at home.
Not Suitable For
- People who avoid cooking or eating beef for personal, cultural, or other reasons.
- Situations where access to proper refrigeration, clean utensils, and safe cooking conditions is limited.
- People who are unsure about handling raw meat safely and prefer fully prepared foods.
Main Content
-
Prepare ingredients and tools.
Gather: 1 flat iron steak (about 300–400 g), 1–2 teaspoons of cooking oil with a high smoke point (such as vegetable or canola oil), 1 teaspoon of salt, 1/2 teaspoon of ground black pepper, and optional 1–2 cloves of garlic and a small piece of butter (about 10 g). Prepare a heavy pan (preferably cast iron or thick-bottomed), tongs, a plate, paper towels, and a timer.
-
Bring the steak to room temperature and season.
Remove the steak from the refrigerator about 20–30 minutes before cooking. Place it on a plate lined with paper towels and gently pat both sides dry. Sprinkle salt and black pepper evenly over both sides, pressing lightly so the seasoning adheres. Let the steak rest at room temperature while you heat the pan.
-
Heat the pan and start searing.
Place the pan on the stove over medium-high heat and let it heat for about 2–3 minutes until hot. Add the cooking oil and tilt the pan so the oil coats the surface in a thin layer. Carefully place the steak in the pan away from your body to avoid oil splashes. Let the steak cook without moving it for about 3–4 minutes to sear the first side.
-
Cook the second side and optional aromatics.
Use tongs to turn the steak over. Cook the second side for another 3–4 minutes. If using garlic and butter, add the butter and lightly crushed garlic cloves to the pan during the last 2 minutes. Tilt the pan slightly and use a spoon to scoop the melted butter and pan juices over the top of the steak repeatedly until the time is up.
-
Check doneness and rest the steak.
If you use a food thermometer, insert it into the thickest part of the steak to check the internal temperature and stop cooking when it reaches your preferred level of doneness. Once done, transfer the steak to a clean plate and let it rest, uncovered or loosely tented with foil, for about 5–10 minutes so the juices redistribute.
-
Slice and serve.
Place the rested steak on a cutting board. Identify the direction of the meat grain (the lines running through the steak) and slice across the grain into thin slices, about 0.5–1 cm thick. Arrange the slices on a serving plate and, if desired, spoon any juices from the resting plate over the top before serving with your chosen side dishes.
FAQ
- Is this flat iron steak recipe suitable for everyday home cooking?
- Yes, it is designed for home kitchens that have a standard stove, a pan, and basic utensils, without requiring specialized equipment.
- Can I use a different cut of beef instead of flat iron steak?
- Yes, you can use similar cuts that are suitable for pan-searing, such as sirloin or flank steak, but cooking times may need adjustment based on thickness and texture.
- Can I cook this steak without butter and garlic?
- Yes, the steak can be cooked using only cooking oil, salt, and pepper. The butter and garlic are optional flavor additions and can be omitted.
- Is this recipe suitable for outdoor grilling instead of stovetop cooking?
- It can be adapted for grilling by preheating a grill, oiling the grates, and cooking the seasoned steak over direct heat, adjusting cooking times according to the heat level.
- Can I prepare the steak in advance and cook it later?
- You can season the steak in advance and keep it covered in the refrigerator, then bring it out to rest at room temperature before cooking, following the same steps.