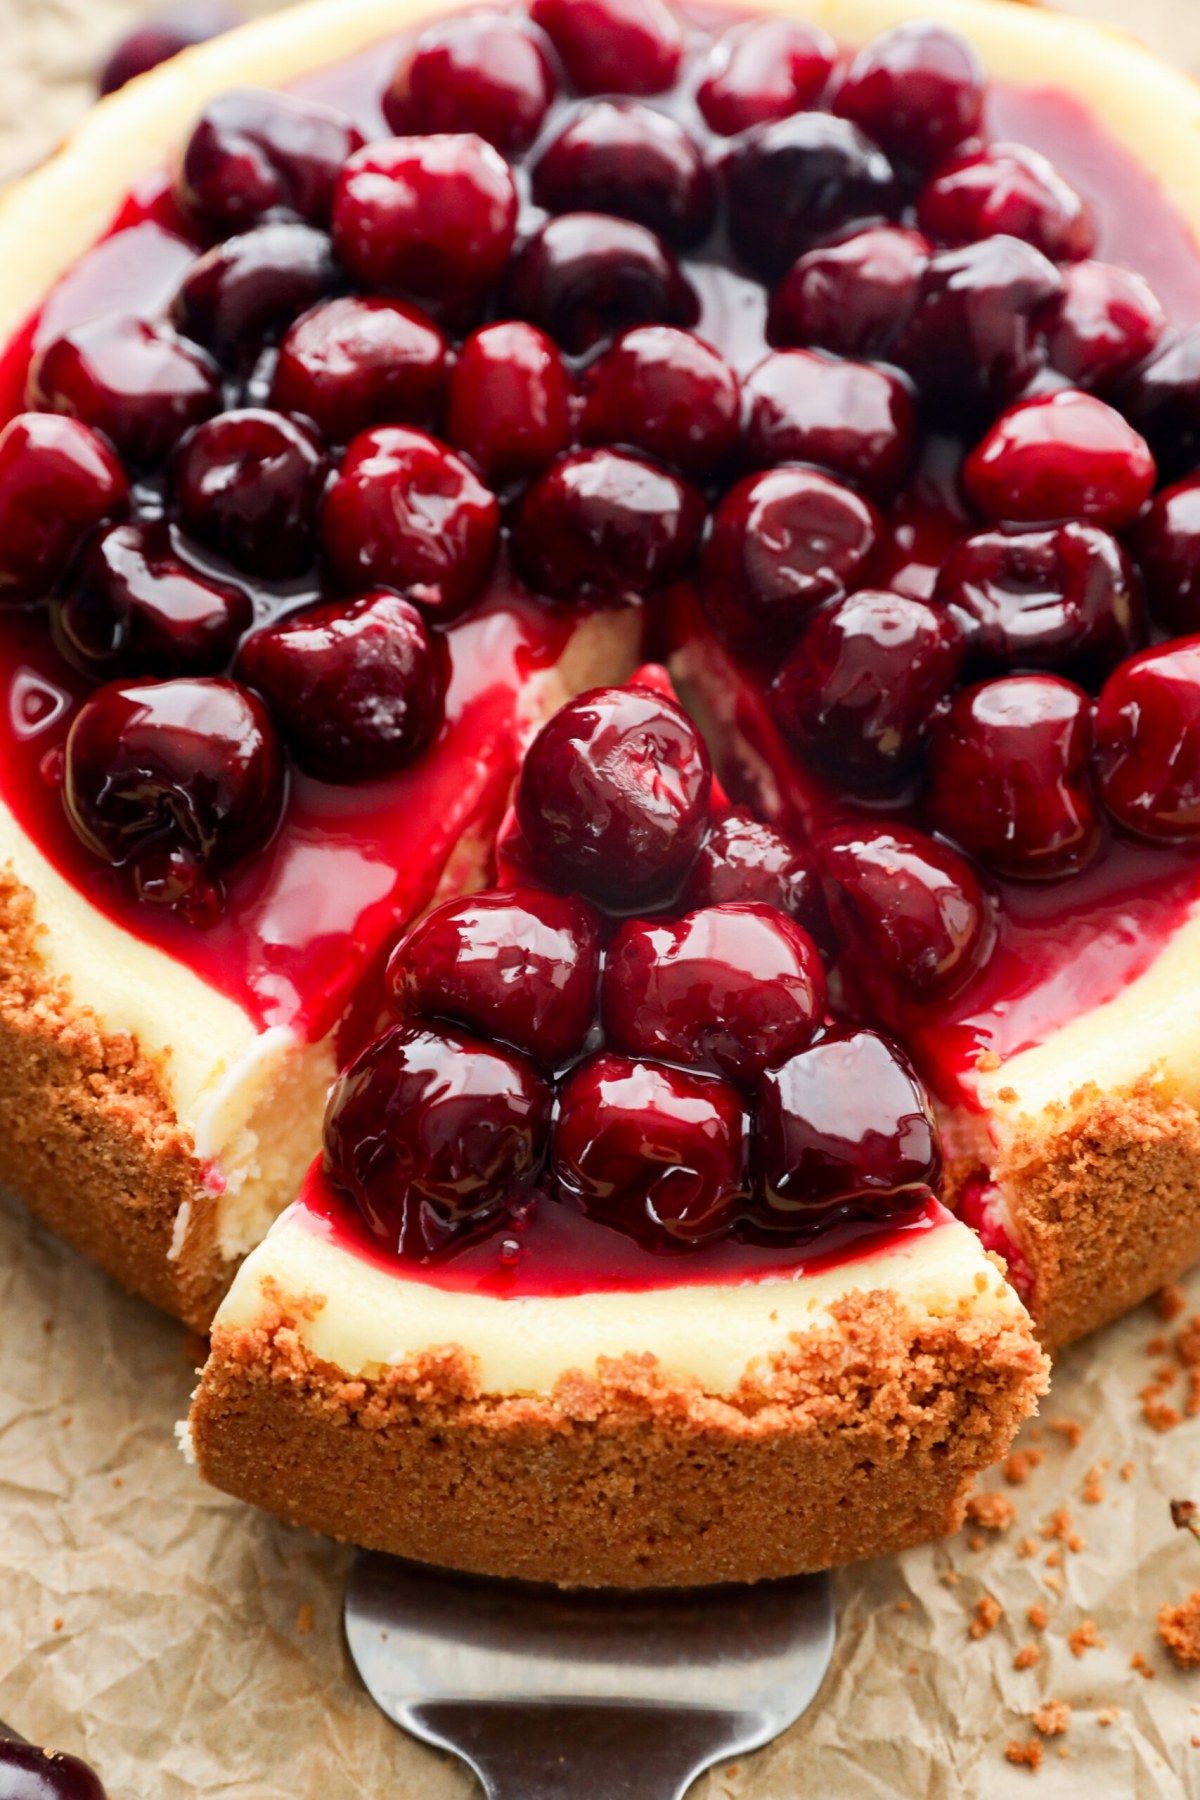
Summary
This cherry cheesecake recipe is intended for home cooks who want a classic, baked dessert using commonly available ingredients and equipment.
Suitable For
- Home baking sessions where a make-ahead dessert is preferred.
- Occasions that allow for several hours of chilling time before serving.
- People comfortable using an oven and basic mixing tools.
Not Suitable For
- Situations where no oven is available for baking.
- People seeking recipes with very short preparation and chilling time.
- Settings where dairy, eggs, or wheat-based ingredients are intentionally avoided.
Main Content
Ingredients
Crust
- 200 g (about 2 cups) graham cracker crumbs or plain biscuit crumbs
- 80 g (about 6 tbsp) unsalted butter, melted
- 25 g (about 2 tbsp) granulated sugar (optional)
Cheesecake Filling
- 680 g (24 oz) cream cheese, softened to room temperature
- 200 g (1 cup) granulated sugar
- 200 g (about 3/4 cup plus 2 tbsp) sour cream, at room temperature
- 3 large eggs, at room temperature
- 5 ml (1 tsp) vanilla extract
- 15 ml (1 tbsp) lemon juice (optional)
Cherry Topping
- 1 can (about 540 ml / 21 oz) cherry pie filling, or
- 400 g pitted cherries (fresh or frozen), 50 g (1/4 cup) sugar, and 15 ml (1 tbsp) lemon juice cooked together until thickened
Step 1: Prepare Equipment and Crust
- Preheat the oven to 170°C (338°F). Position a rack in the middle of the oven.
- Line the bottom of a 23 cm (9-inch) springform pan with parchment paper. Lightly grease the sides with butter or neutral oil.
- In a medium bowl, combine the graham cracker crumbs, melted butter, and sugar (if using). Stir with a spoon or spatula until the crumbs are evenly moistened.
- Pour the crumb mixture into the prepared pan. Press it firmly and evenly across the bottom using the back of a spoon or the base of a glass.
- Bake the crust for 8–10 minutes until it feels set and lightly fragrant. Remove from the oven and let it cool at room temperature while preparing the filling.
Step 2: Mix the Cheesecake Filling
- Place the softened cream cheese in a large mixing bowl.
- Beat with an electric mixer on medium speed for 1–2 minutes until smooth, scraping down the sides of the bowl as needed.
- Add the sugar and beat on medium speed for another 1–2 minutes until the mixture looks smooth and evenly combined.
- Add the sour cream, vanilla extract, and lemon juice (if using). Mix on low to medium speed just until incorporated.
- Add the eggs one at a time, mixing on low speed after each addition just until combined. Avoid over-mixing; stop once the batter looks uniform.
- Use a spatula to scrape the sides and bottom of the bowl to ensure there are no unmixed portions of cream cheese.
Step 3: Bake the Cheesecake
- Pour the filling over the cooled crust in the springform pan. Smooth the surface with a spatula.
- Tap the pan gently on the counter a few times to release any large air bubbles.
- Place the pan on the middle oven rack. Bake at 170°C (338°F) for 45–55 minutes.
- Begin checking at 45 minutes. The edges should look set, and the center should still have a slight wobble when the pan is gently shaken.
- Once at this stage, turn off the oven. Leave the oven door slightly ajar (for example, by placing a wooden spoon in the door) and let the cheesecake sit in the oven for 30 minutes.
- After 30 minutes, remove the cheesecake from the oven and place it on a wire rack to cool at room temperature for about 1 hour.
Step 4: Chill and Add Cherry Topping
- Once the cheesecake has cooled to room temperature, cover the pan loosely with plastic wrap or foil.
- Refrigerate for at least 4 hours, preferably overnight, until fully chilled and firm.
- When ready to add the topping, remove the chilled cheesecake from the refrigerator.
- If using canned cherry pie filling, stir it gently in its can or in a bowl to loosen it.
- If preparing a simple cherry topping, combine the cherries, sugar, and lemon juice in a small saucepan. Cook over medium heat for 5–10 minutes, stirring often, until the mixture thickens slightly and the cherries soften. Let it cool completely before using.
- Spoon the cherry topping evenly over the surface of the chilled cheesecake, leaving a small border around the edge if preferred.
Step 5: Unmold, Slice, and Serve
- Run a thin knife around the inside edge of the pan to loosen the cheesecake from the sides.
- Release the springform latch and remove the sides of the pan.
- If desired, slide a long spatula between the crust and the parchment to transfer the cheesecake to a serving plate. This step is optional; it can also be served on the pan base.
- For cleaner slices, use a sharp knife dipped in warm water and wiped dry between cuts.
- Serve chilled. Return any remaining slices to the refrigerator and store covered for up to several days.
FAQ
- Is this cherry cheesecake recipe suitable for everyday home cooking?
- It is intended for home kitchens that have an oven, basic baking tools, and enough time for baking and chilling.
- Can I use a different crust instead of graham crackers?
- Yes. Plain biscuits or similar dry cookies can be crushed and used in the same quantity, combined with melted butter until they hold together when pressed.
- Can I replace the cherry topping with another fruit?
- Yes. Prepared pie fillings or cooked fruit mixtures with similar consistency, such as blueberry or strawberry topping, can be used in the same way.
- Is this recipe suitable if I avoid dairy or eggs?
- This version uses cream cheese, sour cream, and eggs. People who avoid these ingredients typically look for recipes formulated without them.
- Can I make this cheesecake in advance for the next day?
- Yes. Baking it the day before and chilling it overnight is a common approach for scheduling and texture purposes.