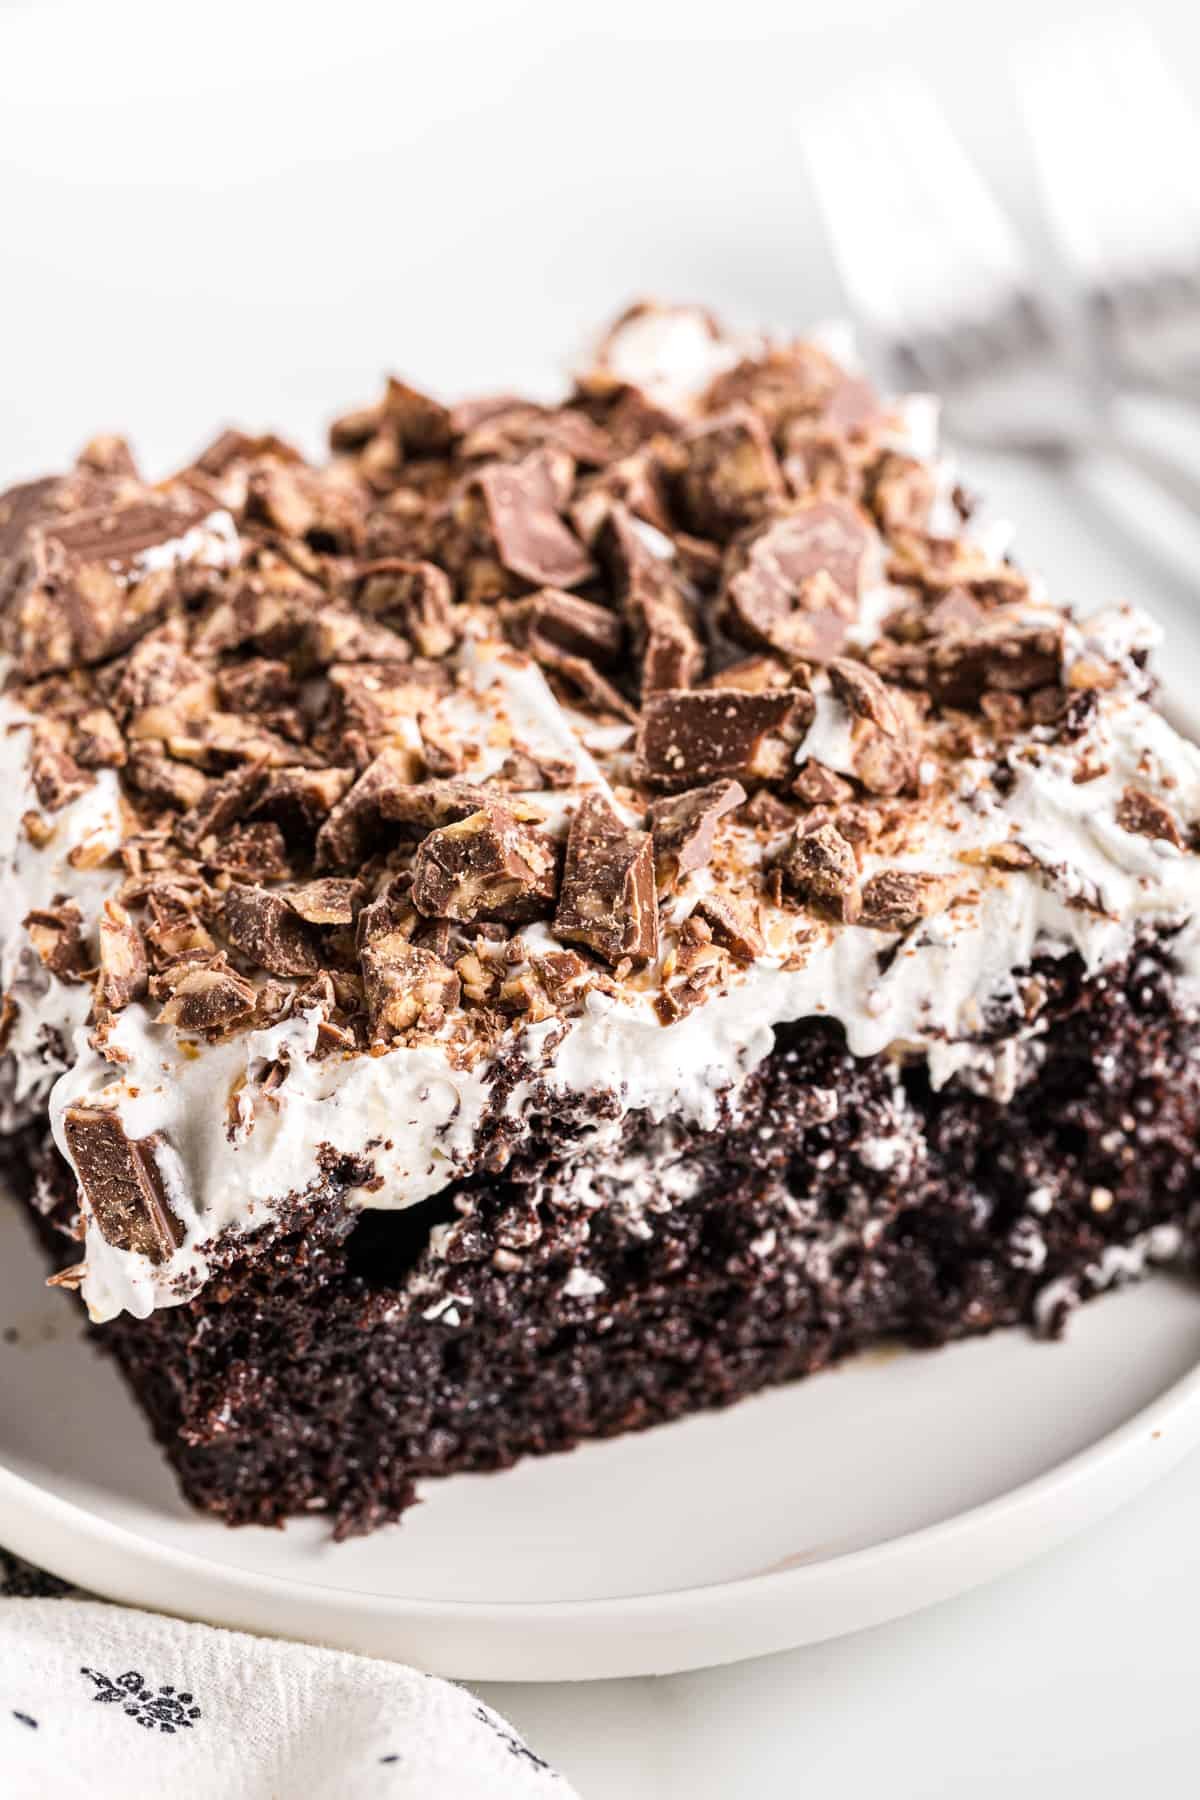
Summary
This recipe is for home cooks who want to prepare a rich, chocolate-based dessert cake with a caramel and whipped topping using common supermarket ingredients.
Suitable For
- Home baking sessions where a sweet, shareable dessert is desired for casual gatherings.
- Everyday cooks who prefer using boxed cake mix and ready-made toppings for convenience.
- People looking for a step-by-step, repeatable method to make a layered chocolate dessert cake.
Not Suitable For
- Individuals who wish to avoid very sweet desserts or rich, layered cakes.
- Situations where access to an oven, refrigerator, or basic baking tools is not available.
- People who require personalized dietary guidance or ingredient evaluation from a qualified professional.
Main Content
Step 1: Prepare Ingredients and Equipment
- Equipment: 9×13 inch (about 23×33 cm) baking pan, large mixing bowl, whisk or electric mixer, small bowl, fork or wooden skewer, spatula, measuring cups and spoons, can opener, refrigerator space.
- For the cake base: 1 box (about 430–520 g) chocolate cake mix, ingredients listed on the cake mix package (typically eggs, oil, and water in the amounts directed).
- For soaking and flavor layers: 1 can (about 396 g / 14 oz) sweetened condensed milk, 1 jar or can (about 300–400 g) caramel sauce or butterscotch topping (pourable), optionally 60–120 ml (1/4–1/2 cup) chocolate syrup.
- For topping: 1 tub (about 225–250 g) whipped topping (thawed if frozen) or an equivalent amount of freshly whipped cream, 4–6 crushed chocolate or toffee candy bars (such as toffee or chocolate-coated toffee), or about 1 cup of toffee bits or chocolate chips.
- Preheat the oven to the temperature indicated on the cake mix box (commonly 175–180°C / 350–360°F).
Step 2: Bake the Cake Base
- Lightly grease the 9×13 inch baking pan with a thin layer of oil, butter, or non-stick spray.
- In the large mixing bowl, combine the cake mix with the amount of water, oil, and eggs specified on the package.
- Beat the mixture with a whisk or electric mixer until smooth, following the time guideline on the package (usually 2–3 minutes on medium speed).
- Pour the batter into the prepared pan and spread it evenly with a spatula.
- Bake in the preheated oven for the time stated on the box for a 9×13 inch pan (often 25–35 minutes), or until a toothpick inserted in the center comes out clean or with a few moist crumbs.
- Remove the pan from the oven and place it on a heat-safe surface or cooling rack.
Step 3: Poke and Soak the Warm Cake
- While the cake is still warm (not fully cooled), use the handle of a wooden spoon, a thick skewer, or a fork to poke holes evenly across the surface of the cake, spacing them about 2–3 cm apart.
- Open the can of sweetened condensed milk and the jar of caramel or butterscotch sauce.
- Pour the sweetened condensed milk slowly and evenly over the entire surface of the warm cake, allowing it to sink into the holes.
- Pour the caramel or butterscotch sauce evenly over the cake in the same way, focusing on the poked areas so it seeps in.
- If using chocolate syrup, drizzle it over the top in thin lines or zigzags.
- Let the cake stand at room temperature for about 20–30 minutes to allow the liquids to absorb and the cake to cool down further.
Step 4: Add Whipped Topping and Candy Layer
- Ensure the cake has cooled to lukewarm or room temperature before adding the topping to help it stay in place.
- If using frozen whipped topping, make sure it is fully thawed in the refrigerator according to package directions.
- Spread the whipped topping evenly over the entire surface of the cake using a spatula, creating a smooth layer.
- Place the candy bars in a sealed bag and crush them gently with a rolling pin or the bottom of a sturdy cup until you have small pieces.
- Sprinkle the crushed candy or toffee bits evenly over the whipped topping so that the surface is covered with a visible layer.
Step 5: Chill and Serve
- Cover the pan loosely with plastic wrap, foil, or a fitted lid if the pan includes one.
- Refrigerate the cake for at least 2 hours, or until it is well chilled and the layers have set.
- When ready to serve, slice the cake into squares using a sharp knife, wiping the knife between cuts if needed for neat slices.
- Serve the cake chilled on plates. Leftovers can be covered and stored in the refrigerator, generally for up to several days according to typical home practice.
FAQ
1. Is this recipe suitable for beginners in home baking?
This recipe uses a boxed cake mix and ready-made toppings, so it is generally suitable for home cooks who are comfortable following package directions and simple step-by-step instructions.
2. Can I replace the chocolate cake mix with another flavor?
Yes, you can follow the same method using other boxed cake flavors such as vanilla, yellow, or caramel cake mix, as long as you follow the baking instructions on the specific package you use.
3. Can I use homemade whipped cream instead of store-bought whipped topping?
Yes, you can replace the whipped topping with freshly whipped cream, making enough to cover the cake in a thick layer and spreading it over the cooled, soaked cake in the same way.
4. Is it necessary to add both sweetened condensed milk and caramel sauce?
The described method uses both for a richer, layered result, but you can choose to use only one or adjust the quantities according to your preferences for sweetness and texture.
5. Can this cake be served the same day it is baked?
Yes, the cake can be served on the same day; however, allowing it to chill in the refrigerator for at least a few hours helps the layers set and makes the cake easier to slice and serve.