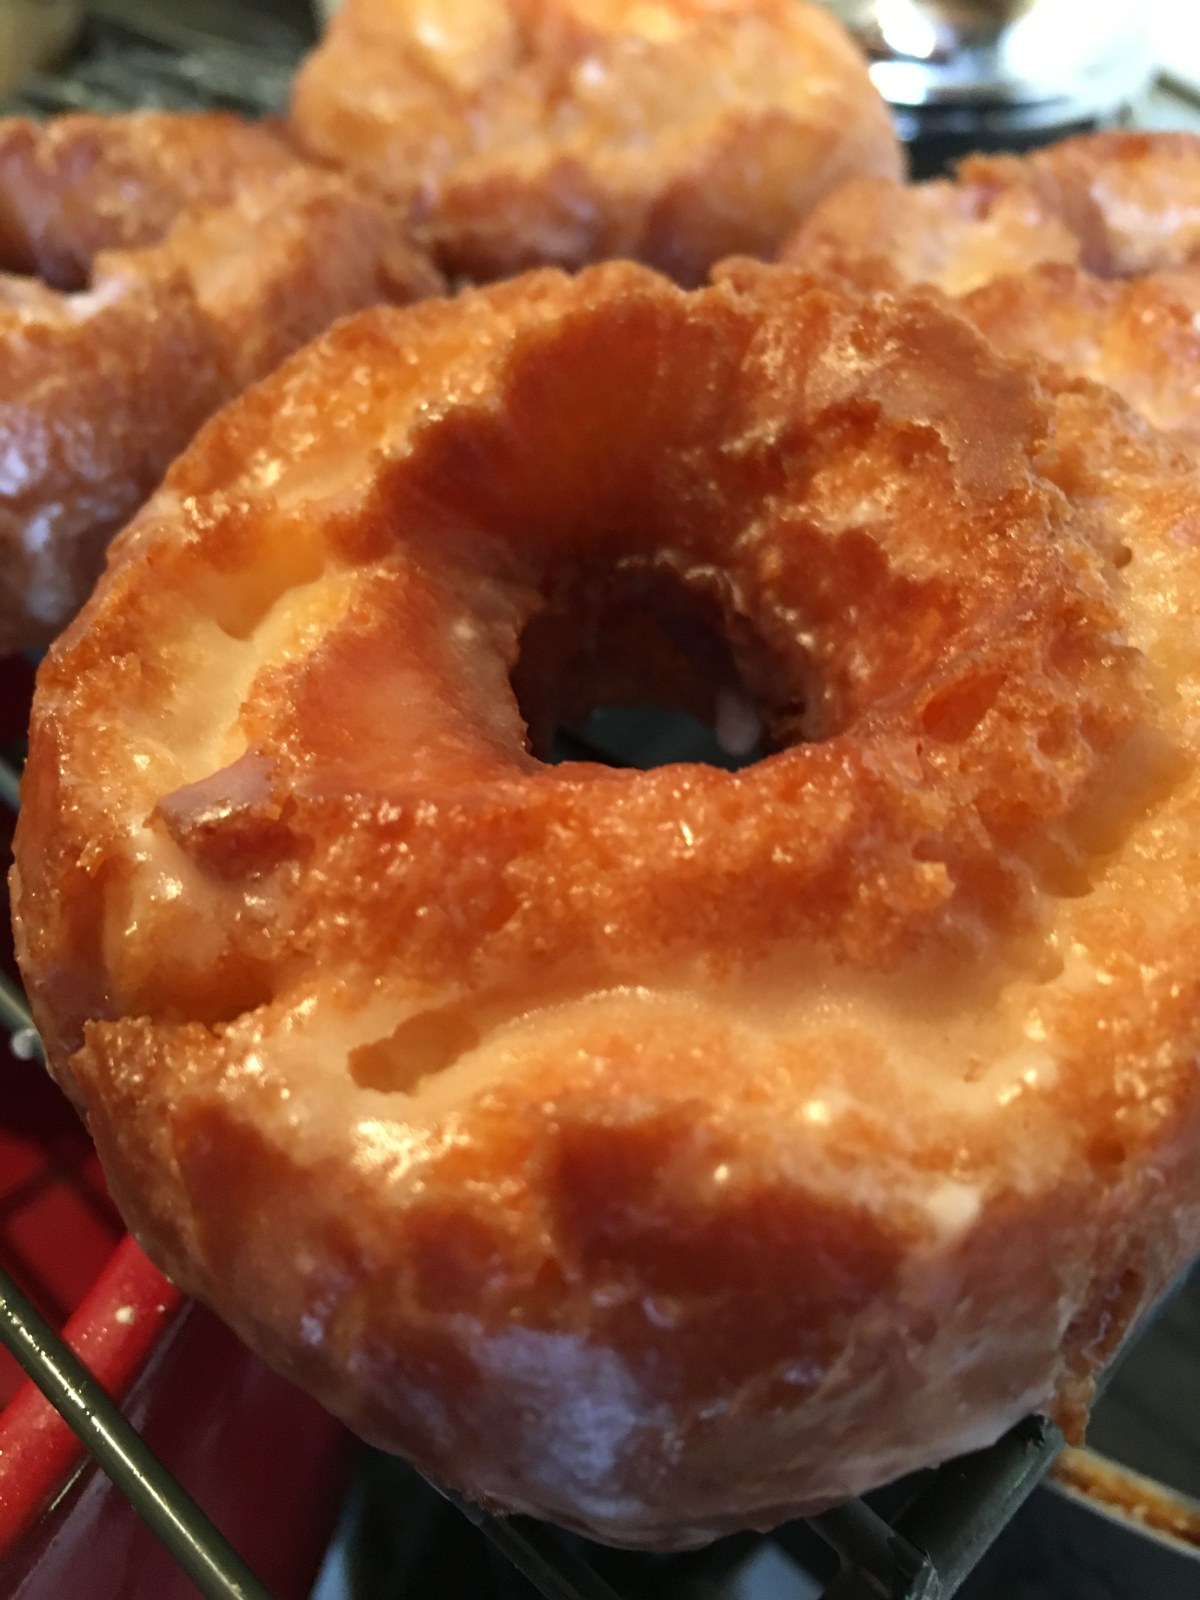
Summary
This recipe is intended for home cooks who want to make classic fried donuts in a standard kitchen setting.
Suitable For
- Home cooks looking for a basic, yeast-raised donut recipe for everyday cooking.
- People who want a step-by-step example to practice dough handling and frying techniques.
- Occasions where a simple, made-at-home fried donut is desired as part of a regular meal or snack.
Not Suitable For
- People who need individually tailored ingredient lists or portion sizes based on personal conditions or professional advice.
- Situations where frying in hot oil is not acceptable or cannot be done safely in the available kitchen environment.
- Readers seeking guidance on managing specific medical conditions or therapeutic dietary patterns.
Main Content
Ingredients
- Warm milk (about 40°C / warm to the touch, not hot): 240 ml (1 cup)
- Active dry yeast: 7 g (about 2 1/4 teaspoons, one standard packet)
- Granulated sugar: 50 g (1/4 cup)
- All-purpose flour: 360–400 g (3 to 3 1/3 cups), added gradually
- Salt: 1/2 teaspoon
- Unsalted butter, melted and cooled slightly: 60 g (1/4 cup)
- Eggs: 2 large
- Neutral oil for frying (such as vegetable or canola oil): enough to fill a pot with about 5 cm (2 inches) of oil
- Optional for coating: extra granulated sugar or powdered sugar, about 50–100 g (1/4–1/2 cup)
Step 1: Prepare the Dough Base
- Place the warm milk in a large mixing bowl. It should feel warm but comfortable to the touch when you dip a clean finger in.
- Sprinkle the active dry yeast over the warm milk, then add the granulated sugar.
- Stir briefly with a spoon until the yeast and sugar are moistened and partially dissolved.
- Let the bowl stand at room temperature for about 5–10 minutes, until the surface looks slightly foamy or bubbly, indicating the yeast is dispersed.
Step 2: Form the Donut Dough
- Add the melted butter, eggs, and salt to the yeast mixture. Stir with a whisk or fork until the eggs are blended and the mixture looks uniform.
- Add about half of the flour (roughly 180–200 g or 1 1/2–1 2/3 cups) and mix with a wooden spoon or spatula until a thick batter forms.
- Gradually add more flour, about 2–3 tablespoons at a time, stirring after each addition, until the dough becomes soft, slightly sticky, and starts to pull away from the sides of the bowl.
- Lightly flour a clean work surface and your hands. Transfer the dough to the surface.
- Knead the dough by folding and pressing it for about 5–8 minutes, adding small amounts of flour only if the dough sticks strongly. The finished dough should feel smooth, soft, and slightly springy when pressed.
Step 3: First Rise (Proofing)
- Lightly grease a clean bowl with a thin layer of oil or butter.
- Place the kneaded dough into the bowl and turn it once so the surface is lightly coated.
- Cover the bowl with plastic wrap, a lid, or a clean kitchen towel.
- Let the dough rest in a warm, draft-free place for about 1–1.5 hours, or until it appears roughly doubled in size when compared with its original volume.
Step 4: Shape the Donuts
- Lightly flour the work surface again. Gently transfer the risen dough onto the surface.
- Use your hands or a rolling pin to flatten the dough to a thickness of about 1–1.5 cm (roughly 1/2 inch).
- Use a donut cutter or two round cutters (one larger, one smaller) to cut out donut shapes. Re-roll the remaining dough gently and cut more shapes until all dough is used.
- Place the cut donuts and any holes onto lightly floured parchment paper or a baking sheet, leaving space between them.
- Cover loosely with a clean kitchen towel and let them rest at room temperature for about 30–40 minutes, until they look slightly puffy.
Step 5: Fry the Donuts
- Pour enough neutral oil into a deep, heavy pot to reach a depth of about 5 cm (2 inches). Place the pot on the stove.
- Heat the oil over medium heat until it reaches approximately 175–180°C (350–360°F). Use a kitchen thermometer if available, or test with a small piece of dough that should sizzle and rise to the surface within a few seconds.
- Carefully place a few donuts into the hot oil, avoiding crowding. Use a slotted spoon or tongs if needed.
- Fry each side for about 1–2 minutes, or until the surface appears evenly golden brown. Turn the donuts once during cooking.
- Use the slotted spoon to lift the donuts onto a plate or tray lined with paper towels to drain excess oil.
Step 6: Coat and Serve
- While the donuts are still warm but cool enough to handle, place sugar or powdered sugar in a shallow bowl.
- Roll each warm donut in the sugar until coated on all sides, or leave them plain if preferred.
- Place the finished donuts on a clean plate or serving tray.
- Allow them to cool to a comfortable temperature before eating. Store any remaining donuts in an airtight container at room temperature for short-term use.
FAQ
- Is this donut recipe intended for any specific health condition?
- No. This recipe is a general home-cooking example and is not designed for managing or addressing any specific health condition.
- Can I bake these donuts instead of frying?
- This set of instructions is written for frying. Baking would require different time and temperature settings, so results may differ and are not covered in this description.
- Can I replace the all-purpose flour with another type of flour?
- Other flours may behave differently in terms of texture and dough handling. This example is written for standard all-purpose wheat flour and does not include adjustments for alternatives.
- Can I reduce the sugar in the dough?
- You may choose to adjust sugar amounts based on taste, but the texture and flavor may change. The given quantities are for a typical sweet donut profile.
- Is this recipe suitable for people with specific dietary restrictions?
- This recipe does not account for individual dietary restrictions. Anyone with specific requirements should compare the listed ingredients with their own needs or consult a qualified professional separately.